From Logo to Thread: How Embroidered Patches Are Made
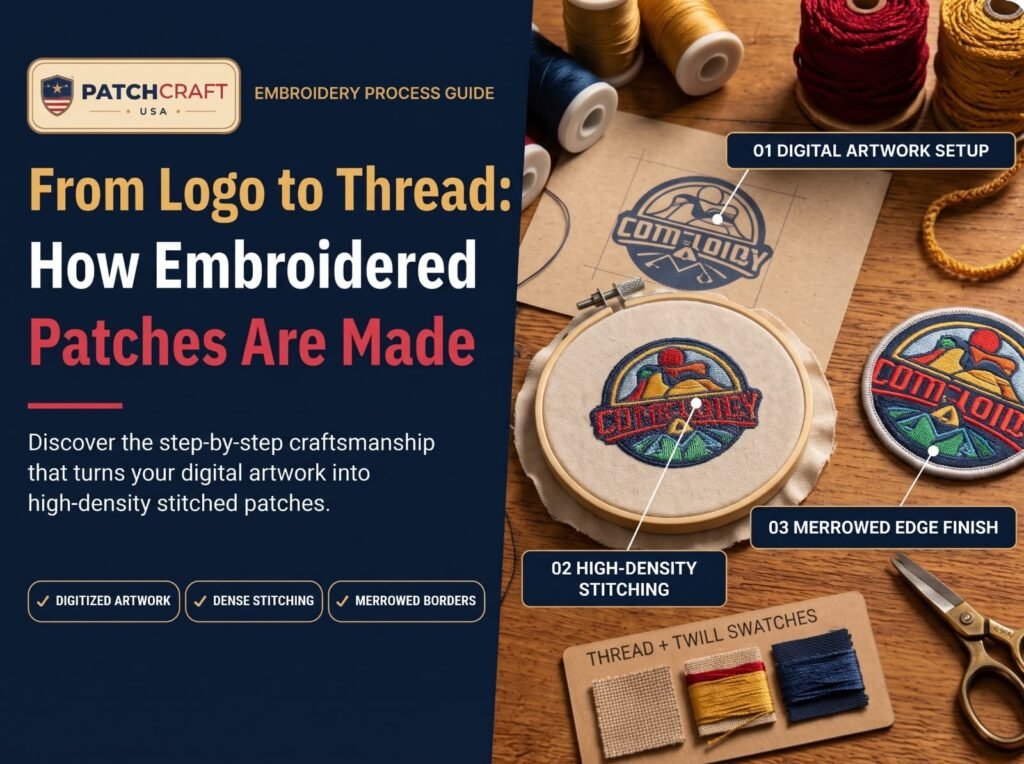
Most people see a finished patch on a cap or a work shirt and never think about how it got there. But between your logo file and that crisp, stitched badge, there are a handful of steps that decide whether the patch looks sharp for years or starts to fray after a few washes.
Knowing those steps helps you ask better questions, avoid surprises and get a patch you’re proud to put your name on. Here’s the full journey, explaining the way we explain it to customers.
Short answer: Embroidered patches are made by converting your logo into a stitch file (called digitizing), stitching that design onto a twill or felt base with an embroidery machine, cutting the patch to shape, finishing the edge with a merrow or laser-cut border, and adding a backing such as iron-on, sew-on or Velcro.
Step 1: Your Artwork Comes In
Everything starts with your design. A clean vector file (AI, EPS, PDF or SVG) is ideal, but a high-resolution PNG or JPG works too. If all you have is a sketch on a napkin, that’s fine. We can work with it.
At this stage, we check three things:
- Size. How big will the patch be? This decides how much detail can fit.
- Text. Small lettering needs enough height to stitch cleanly.
- Colors. Our embroidered patches support up to 12 thread colors, matched to your brand.
Step 2: Digitizing Turns Pixels Into Stitches
This is the step most people have never heard of, and it’s the one that matters most.
An embroidery machine can’t read a JPG. It needs a stitch file that tells it exactly where to place every stitch, in what order, at what angle and with which color. Creating that file is called embroidered patch digitizing.
Good digitizing is a skill. A digitizer decides:
- Which stitch type to use for each area (satin stitches for borders and text, fill stitches for large shapes)
- The direction of the stitches, which affects how light hits the thread
- The order of colors, so the machine doesn’t jump around and leave loose threads
- How to adjust tiny details so they stay readable
Poor digitizing is why some patches look puckered, blurry or uneven, even with good thread. At PatchCraft USA, digitizing is free on every order.
Step 3: You Approve a Free Mockup
Before anything goes on a machine, you get a digital mockup within 24 hours. It shows the patch size, colors, border and layout.
This is your chance to make changes. Want the text bigger? A different border color? A slightly smaller patch for a cap? Now is the time. Production only starts after you approve.
Step 4: Choosing the Base Fabric
Embroidered patches are stitched onto a base fabric, usually twill or felt.
- Twill is the standard. It’s smooth, durable and holds color well.
- Felt has a softer, slightly vintage look and works well for retro or casual designs.
You can choose how much of the base is covered. A 100% embroidered patch is fully covered in thread for a rich, textured look. A partially covered patch lets the twill show through as the background, which keeps the patch lighter and often lowers the cost.
Step 5: Stitching on the Machine
Now the digitized file goes onto an embroidery machine. The machine stitches each color in order, building the design layer by layer. Large orders run on multi-head machines that stitch several patches at once, which keeps every piece consistent.
This is also where add-ons happen:
- Metallic thread adds gold or silver shine for awards, badges and premium logos.
- 3D puff raises parts of the design off the surface for a bold look, especially on caps.
- Glow-in-the-dark thread works for night events, safety gear or just for fun.
Step 6: Cutting and Finishing the Edge
Once stitched, each patch is cut to shape and finished with a border. You have two main choices:
| Border | Look | Best for |
| Merrow | Thick, rolled, classic edge | Circles, squares, shields, simple shapes |
| Laser-cut | Clean, sealed, flat edge | Custom shapes and detailed outlines |
Merrow borders are what most people picture when they think of a classic patch. Laser-cut edges follow your design closely, so they’re the go-to for mascots, logos with points, and anything that isn’t a basic shape.
Step 7: Adding the Backing
The last step is the backing, which decides how the patch attaches. Here’s how we help customers pick the best backing for embroidered patches:
- Sew-on: The most permanent option. Best for uniforms, work jackets and anything washed often.
- Iron-on: Fast and easy for cotton and cotton blends. Great for event shirts, school gear and merch. Our guide on how to iron on a patch shows how to make it last.
- Velcro (hook and loop): Lets you swap patches on vests, bags and tactical gear.
- Adhesive: Peel-and-stick for short-term use, like events and giveaways.
- Magnetic: Attaches without damaging the fabric, handy for uniforms that change often.
If you want a patch that can switch between iron-on and sew-on later, ask for iron-on backing and add a few stitches around the edge.
Step 8: Quality Check and Shipping
Every patch is checked for loose threads, color accuracy and clean edges before it’s packed. From mockup approval, production takes 10 to 12 business days, plus shipping to all 50 states.
Where Embroidered Patches Work Best
Embroidery is the most versatile patch style, which is why it’s the most popular. Common uses include:
- Company uniforms and workwear
- Caps and beanies for brands and crews
- Embroidered patches for jackets, from motorcycle clubs to fire departments
- Scout, club and membership badges
- Merch for bands, podcasts and small businesses
When Embroidery Isn’t the Best Fit
Embroidery is great, but it has limits. If your logo has very small text or fine lines, a woven patch will keep them sharper. Read our comparison of woven vs embroidered patches to see the difference. And if your design has gradients or photo detail, thread can’t capture it the way sublimation patches can.
Five Mistakes That Make Embroidered Patches Look Cheap
The same issues show up again and again in patch artwork. Avoiding them is the fastest way to a better patch.
- Shrinking a detailed logo too small. A logo that looks great on a website can turn into a blur at 2 inches. If your logo has fine text, either make the patch bigger or simplify the design for stitching.
- Using too many colors. Every color adds a thread change. A logo with 3 or 4 strong colors usually looks cleaner than one with 10.
- Skipping contrast. Navy text on a black background might look fine on screen but disappears in thread. Make sure text and background are clearly different.
- Choosing the wrong border. A merrow border on a spiky, detailed shape can’t follow the outline cleanly. Use laser-cut for complex shapes.
- Picking the wrong backing. Iron-on on a work jacket that gets washed every week will eventually lift. Match the backing to how the garment is used.
A Quick Checklist Before You Order
- Do you have the clearest version of your logo?
- Do you know where the patch will go (cap, chest, sleeve, back)?
- Have you chosen a size that fits that spot?
- Do you know how the garment will be washed?
- Do you need any add-ons, like metallic thread or 3D puff?
If you can answer most of these, your mockup will be closer to perfect on the first try.
Key Takeaways
- Digitizing turns your logo into a stitch file and has the biggest effect on quality.
- Twill is the standard base; felt gives a softer, vintage look.
- Use merrow borders for simple shapes and laser-cut edges for custom shapes.
- Match the backing to how the garment is used and washed.
- Approve a free mockup before production so there are no surprises.
Frequently Asked Questions
How long does it take to make embroidered patches?
At PatchCraft USA, production takes 10 to 12 business days after you approve your mockup, plus shipping. Timing can vary slightly depending on patch size and detail.
How many colors can an embroidered patch have?
Our embroidered patches can use up to 12 thread colors. Most logos look best with fewer, because simple color palettes stitch cleaner.
What size should an embroidered patch be?
We make embroidered patches from 1 inch to 12 inches. For caps, 2 to 3 inches is common. For jacket backs, 10 to 12 inches.
Is digitizing included in the price?
Yes. Digitizing and setup are free on every order, and you get a free mockup within 24 hours.
Can I order embroidered patches without a finished logo?
Yes. Send us a sketch, a photo or a description, and we’ll turn it into a clean design for your mockup.
Start Your Embroidered Patch
Now that you know what happens behind the scenes, you can order with confidence. Send us your logo, tell us where the patch will go, and we’ll recommend the size, border and backing that fit.
See all the options for our custom embroidered patches, compare other styles on our services page, or get your free quote and mockup within 24 hours.
Ready to Make Your Own Custom Patches?
Free mockup, low minimums, delivery across the USA. Send us your logo and get a quote in 24 hours.